
Introduction to Cuisinart Ice Cream Maker
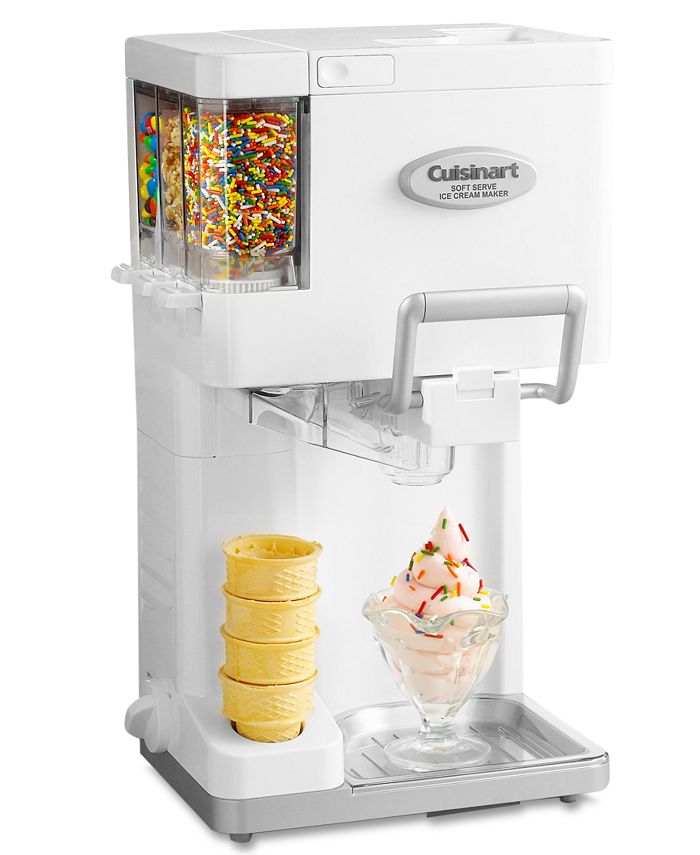
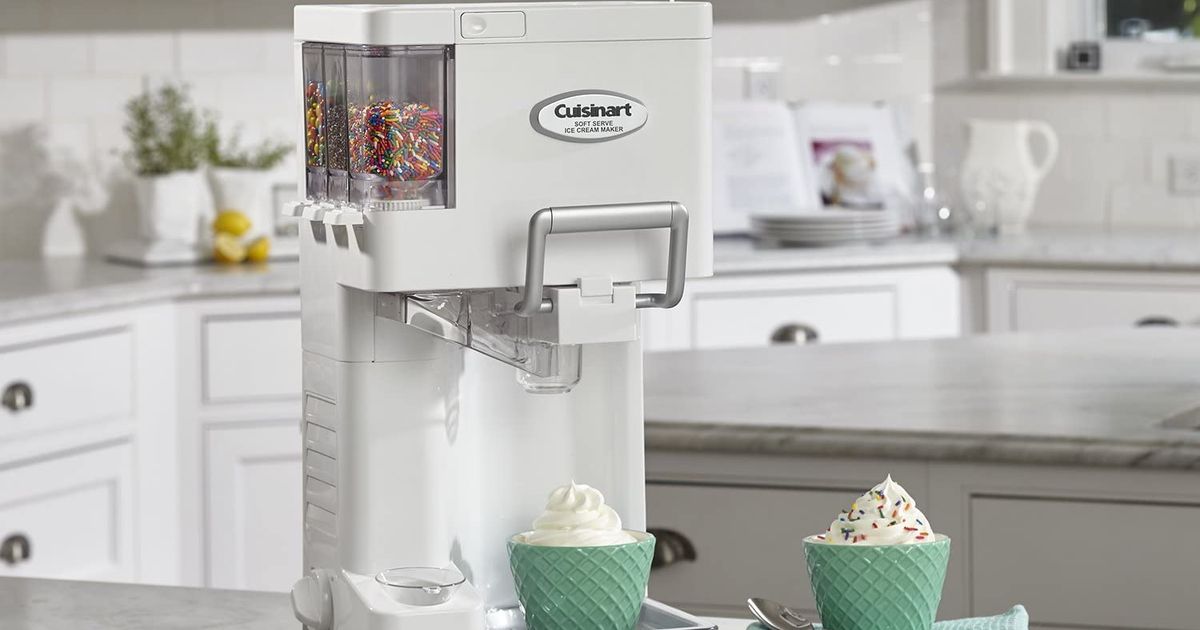
Embarking on the sweet journey of homemade ice cream begins with choosing the right equipment, and the Cuisinart Ice Cream Maker stands out as a top contender. Renowned for its reliability and ease of use, the Cuisinart ICE-21 model has been a favorite among ice cream aficionados for nearly a decade.
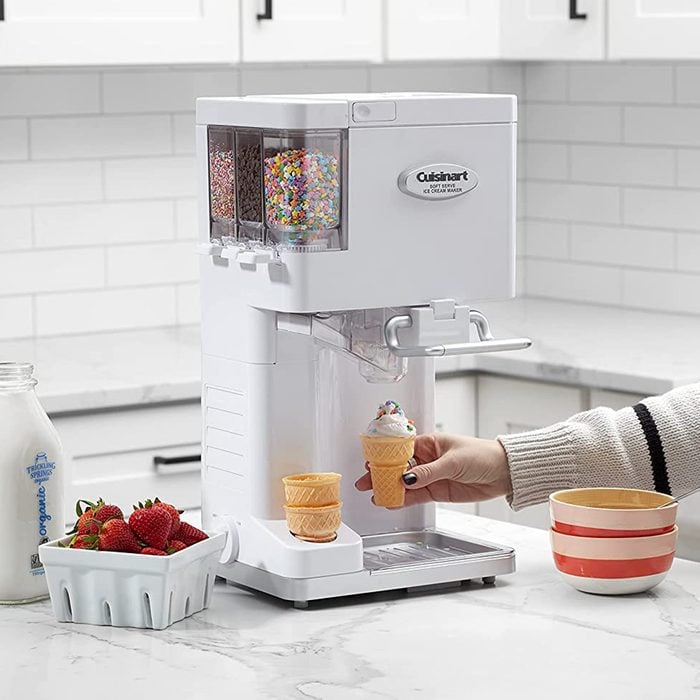
Its compact design and efficient churning mechanism allow for the creation of smooth, creamy ice cream in just 15 to 20 minutes. With a 1.5-quart capacity, it’s an ideal choice for those looking to indulge in the art of ice cream making without committing to a bulky or overly expensive machine.
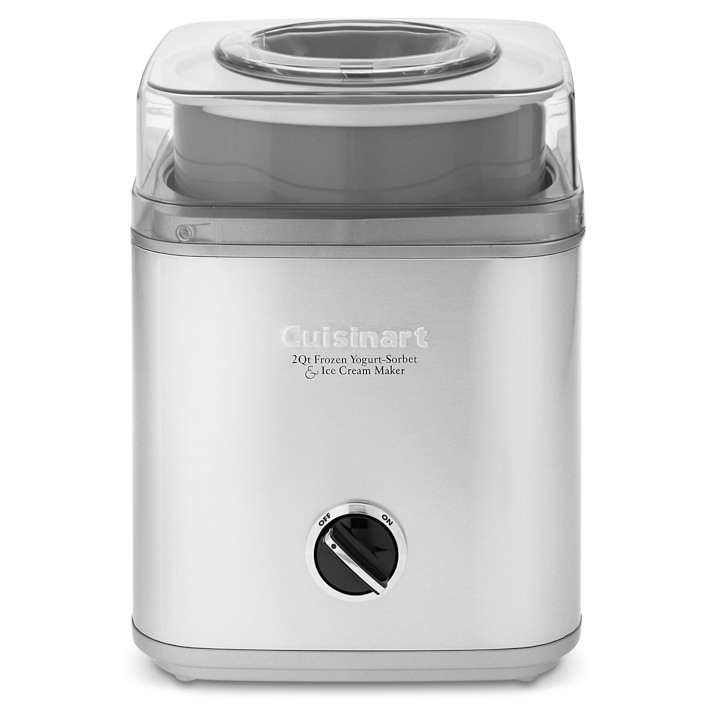
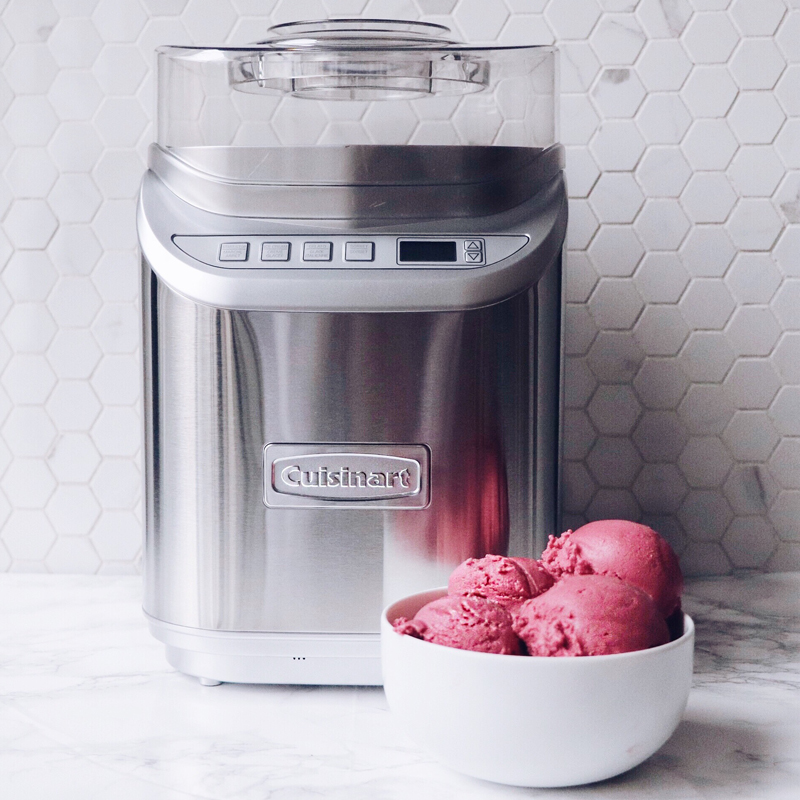
While the ICE-21 remains a popular choice, the newer Cuisinart ICE-30BC model offers a 2-quart capacity for those with a bit more space in their freezer. This model boasts a sleek design and larger bowl, making it a tempting upgrade for serious dessert makers.
Despite the noise common to ice cream makers, the Cuisinart’s performance and the delicious results it yields have solidified its reputation as a must-have kitchen appliance for creating delectable frozen treats at home.
Preparing the Ice Cream Maker

Freezing the bowl
The cornerstone of preparing your Cuisinart Ice Cream Maker is ensuring the freezer bowl is thoroughly frozen. This crucial step cannot be overstated; a fully frozen bowl is the secret to transforming your ice cream base into the thick, creamy dessert you crave. Before freezing, confirm that the bowl is completely dry to prevent unwanted ice crystals from forming.
Once ready, place the bowl in your freezer and give it ample time to freeze solid—typically around 8 hours. Remember, if you detect any sloshing sound when shaking the bowl, it’s a clear sign that it needs more time in the freezer. A partially frozen bowl will lead to a disappointing, soupy mixture instead of the perfect scoop of ice cream.
For optimal results, plan your ice cream making adventure in advance. The freezer bowl must occupy a space in your freezer where it can lie undisturbed and reach a uniform cold temperature throughout. This preparation is a small investment in time that pays off when you achieve the ideal texture and consistency in your homemade ice cream. Once the bowl is fully frozen, you’re set to proceed with confidence, knowing that your Cuisinart Ice Cream Maker is primed to churn out delicious, frosty treats.
Gathering ingredients
With your freezer bowl chilling, the next step in your ice cream making process is to assemble your ingredients. Whether you’re opting for a simple Philadelphia-style ice cream with its no-cook convenience or a rich, custard-based French-style that requires chilling, start with high-quality, cold ingredients.
Measure out your milk, cream, sugar, and any flavorings you plan to use, ensuring everything is ready to go. If your recipe calls for a custard base, remember to refrigerate it until it’s thoroughly chilled. This attention to detail will prevent your ice cream from becoming too soupy and ensure a smooth, creamy texture.
For those eager to add a personal touch with mix-ins, prepare these ahead of time as well. Chop nuts, shave chocolate, or measure out any other small-sized goodies you wish to incorporate. Keep in mind that these should be added in the final minutes of churning to maintain their integrity and evenly distribute throughout your ice cream. By gathering and prepping your ingredients before you begin, you’ll streamline the process and be one step closer to enjoying your homemade frozen treat.
Using the Cuisinart Ice Cream Maker
Assembling the machine
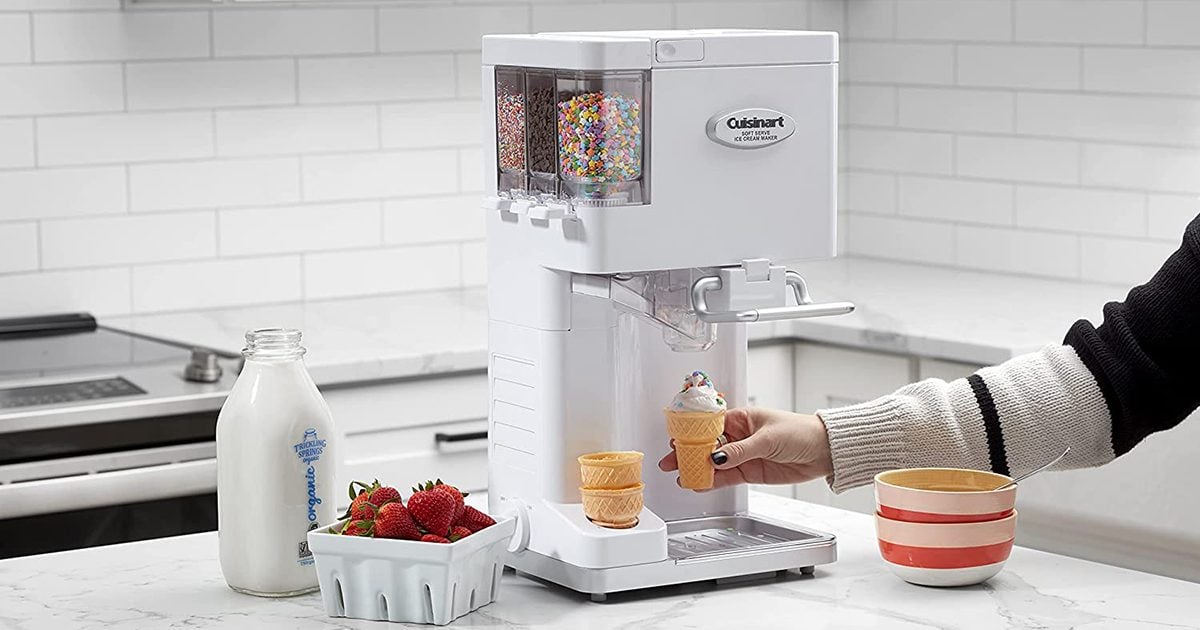
Once your ingredients are prepped and your freezer bowl is fully frozen, it’s time to assemble your Cuisinart Ice Cream Maker. Begin by placing the frozen bowl onto the base of the machine, ensuring it sits securely. Next, insert the mixing paddle into the bowl with the circle side facing up, which is designed to churn the ice cream efficiently.
Finally, place the plastic lid on top and rotate it until it locks into place. This simple assembly process is part of what makes the Cuisinart ICE-21 so user-friendly and a favorite among ice cream aficionados.
With the machine assembled, you’re now ready to pour in your chilled ice cream base. It’s important to start the machine before adding the mixture to avoid any icy build-up. Once the machine is on and the bowl is turning, pour the base in through the spout.
This method ensures a smooth start to the churning process, setting you up for success in achieving that perfect creamy consistency. The Cuisinart Ice Cream Maker is designed for ease and efficiency, so you can focus on the fun part—creating and enjoying your homemade ice cream.
Adding the ingredients
With the Cuisinart Ice Cream Maker humming and ready, it’s time to introduce your prepared ice cream base to the machine. As the bowl rotates, carefully pour the mixture through the spout, ensuring a steady flow.
This crucial step should be done immediately after the machine starts to prevent the base from freezing against the sides of the bowl, which could result in unwanted ice crystals. Whether you’re using a simple mixture or a pre-chilled custard, the key is to add it while the machine is in motion to achieve a uniformly smooth texture in your final product.
As the ice cream begins to churn, the anticipation builds. The Cuisinart’s efficient design means that in about 15 to 20 minutes, you’ll witness the transformation of your liquid base into a thickened, voluminous delight.
Keep an eye on the consistency as it churns; once it reaches the desired thickness, you’ll be ready to add any mix-ins for that extra burst of flavor and texture.
The process is not just about following steps but enjoying the creation of a dessert that’s uniquely yours, made possible by the reliable performance of the Cuisinart Ice Cream Maker.
Turning on the machine
Activating your Cuisinart Ice Cream Maker is as simple as flipping a switch. With the paddle in place and the lid securely fastened, turn the machine on to initiate the churning process.
The motor will start, causing the freezer bowl to rotate and begin the magic of ice cream making. It’s essential to have the machine running before pouring in your ice cream base to ensure a smooth and even freezing process.
The Cuisinart models, like the ICE-21 and ICE-30BC, are known for their straightforward operation, making them a top choice for homemade ice cream enthusiasts.
As the machine works its wonders, the sound of the motor will be a clear indicator that your ice cream is well on its way. Remember, ice cream makers can be loud, so if you prefer a quieter environment, consider setting up your Cuisinart in a space where the noise won’t be a disturbance.
The process typically takes between 15 to 20 minutes, but this can vary depending on the model and the recipe used. Keep an ear out for changes in the motor’s sound, as this can signal that your ice cream is nearing its perfect consistency.
Monitoring the Ice Cream Making Process
Checking the consistency
Monitoring the consistency of your ice cream is a pivotal step in the churning process. As the Cuisinart Ice Cream Maker works its magic, periodically check the mixture’s texture through the transparent lid. You’re aiming for a soft-serve consistency, which usually occurs within 15 to 20 minutes of churning.
Be vigilant and avoid over-churning, as this can lead to a buttery texture. If you’re unsure, it’s better to err on the side of under-churning; you can always give it a bit more time if needed. Trust your eyes and the machine’s cues to achieve that perfect scoopable delight.
Once the ice cream has thickened and expanded in volume to your satisfaction, it’s time to consider any final touches. If you plan to add mix-ins like chocolate chips or nuts, wait until the last few minutes of churning.
This timing ensures they are evenly distributed without disrupting the ice cream’s structure. Remember, adding alcohol or larger pieces should be done cautiously and towards the end of the churning cycle to maintain the ideal consistency and flavor of your homemade creation.
Adding mix-ins
Enhancing your homemade ice cream with mix-ins is an exciting phase where creativity shines. When your ice cream has nearly reached its desired thickness, gently introduce your chosen extras through the machine’s spout.
This could be anything from miniature chocolate chips to finely chopped nuts or even a swirl of caramel. For those with a penchant for spirited desserts, a splash of your favorite liqueur can be added, but be sure to do this in the final moments of churning to prevent any interference with the freezing process.
The key is to add these ingredients gradually, ensuring they meld seamlessly into the soft, creamy base without sinking to the bottom.
It’s important to keep the size of your mix-ins in mind; they should be no larger than a chocolate chip to ensure a uniform texture and to prevent damage to the paddle. By following this method, you’ll create a gourmet ice cream with a professional touch, full of flavor and texture in every scoop.
Once mixed in, your ice cream is ready for the final stage—either serving it fresh for a soft-serve experience or transferring it to the freezer for a firmer finish. With the Cuisinart Ice Cream Maker, the possibilities for customizing your frozen treats are as limitless as your imagination.
Serving and Storing the Ice Cream
Transferring the ice cream to a container
After your ice cream has reached the perfect consistency and all mix-ins have been incorporated, it’s time to transfer your creation to a storage container. For a soft-serve texture, you may serve it immediately. However, for those who prefer a firmer consistency, swiftly move the ice cream into an airtight container.
This step is crucial to avoid any textural changes that might occur if left in the machine’s bowl. Use a spatula to gently scoop the ice cream out, being careful not to compress it too much, which can affect its airy quality.
When storing in the freezer, opt for a container that seals tightly, such as the Tovolo Reusable Ice Cream Tub, to prevent freezer burn and preserve the ice cream’s creamy texture. For an extra layer of protection, press a piece of plastic wrap directly onto the surface of the ice cream before sealing with the lid.
This helps to keep ice crystals at bay, ensuring your ice cream remains as fresh as the day it was churned. Remember, the longer the ice cream is stored, the more the flavors will intensify, offering a richer taste experience upon serving.
Allow the ice cream to soften slightly by placing it in the fridge for about 30 minutes before scooping to achieve the best texture for enjoyment.
Storing in the freezer
Proper storage is key to maintaining the delectable quality of your homemade ice cream. Once transferred to an airtight container, such as the Tovolo Insulated Storage Tub, your ice cream should be placed in the freezer for at least two hours to achieve a firmer consistency.
For those who have experimented with various flavors, pint-sized ice cream containers with lids are ideal, and you can even personalize them with our free Ice Cream Label template. The snug fit of these containers ensures that the flavors of your ice cream are locked in, preventing any unwanted odors from the freezer from seeping in.
It’s essential to note that ice cream should not be stored in the freezer bowl of your Cuisinart Ice Cream Maker, as it can stick to the sides and affect the quality. If your ice cream has been frozen for more than a couple of days, it will need some time to soften for optimal scooping.
Simply place it in the refrigerator for about 30 minutes before serving to soften it to the perfect texture. By following these storage tips, you’ll ensure that every scoop of your homemade ice cream is as fresh and flavorful as possible.
Cleaning the Cuisinart Ice Cream Maker
Disassembling the machine
Cleaning your Cuisinart Ice Cream Maker begins with the simple process of disassembling the machine. Start by removing the lid and the mixing paddle, which are typically the parts that come into direct contact with the ice cream. It’s important to handle these components with care to maintain their integrity for future use.
Next, take out the freezer bowl, ensuring that any remaining ice cream mixture is cleared away. This step is crucial for a thorough cleaning, as leftover residues can affect the performance and hygiene of your ice cream maker over time.
Once the main parts are separated, check for any additional removable elements that may require cleaning. Depending on your model, this could include detachable spouts or additional accessories. By systematically disassembling your Cuisinart Ice Cream Maker, you make the cleaning process more efficient and ensure that each component receives the attention it needs to stay in top condition.
Remember to consult your user manual for specific instructions related to your model, as this will provide the most accurate guidance for disassembly and maintenance.
Cleaning the parts
After disassembling your Cuisinart Ice Cream Maker, it’s time to focus on cleaning the parts. Begin by rinsing the freezer bowl, lid, and mixing paddle under warm water to remove any lingering ice cream residue.
For a deeper clean, use a mild detergent and a soft sponge or cloth to gently scrub these components. It’s essential to avoid abrasive cleaners or scouring pads, as they can damage the surface of your ice cream maker parts. Rinse thoroughly to ensure no soap remains, as this could impart unwanted flavors to your next batch of ice cream.
For parts that are dishwasher safe, you can place them on the top rack of your dishwasher for convenience. However, always check the manufacturer’s recommendations before doing so.
Once all parts are clean and dry, reassemble your Cuisinart Ice Cream Maker, or store the components separately in a dry place until your next ice cream adventure.
Proper cleaning not only extends the life of your appliance but also guarantees that your homemade ice cream is always a hygienic and delightful treat.
Conclusion
Mastering the use of your Cuisinart Ice Cream Maker is a delightful journey into the world of homemade desserts. From the initial preparation of the freezer bowl to the final enjoyment of a creamy, customized treat, each step offers the opportunity to infuse your personal touch into the ice cream-making process.
By following the outlined steps and maintaining your machine with regular cleaning, you’ll ensure that your Cuisinart Ice Cream Maker remains a reliable companion in your culinary endeavors. Whether you’re a fan of classic French Vanilla or an adventurous Death by Chocolate aficionado, the possibilities are endless with this versatile kitchen gadget.
Embrace the joy of creating your own ice cream at home and share the fruits of your labor with friends and family. With the Cuisinart Ice Cream Maker, you’re not just making ice cream; you’re crafting memories, one scoop at a time. For more delicious recipes and kitchen tips, don’t forget to subscribe to Handle the Heat and join a community passionate about baking and sweets.
And remember, whether you’re a seasoned ice cream maker or a newcomer to the craft, the key to perfect ice cream is a dash of patience, a sprinkle of creativity, and the right tools at your fingertips.
Sources:
- https://www.cuisinart.com/recipes/desserts/simple-vanilla-ice-cream—5-cups-10-servings/
- https://handletheheat.com/how-to-use-an-ice-cream-maker-and-which-to-buy/
FAQ
-
How do you use an ice cream maker step by step?
HOW TO MAKE HOMEMADE ICE CREAM IN AN ELECTRIC ICE CREAM MAKER: 1. Prepare in advance. Place the ice cream canister in the freezer, for best results. 2. Get your churning station set up. 3. Mix the ice cream ingredients together (lots of recipe ideas below!), and pour into cold canister. 4. Churn the ice cream. 5. Store the ice cream.
-
How to tell when ice cream is done in Cuisinart ice cream maker?
The ice cream is done when it forms into a solid mass and is no longer mixed by the turning paddle. This recipe took 25 minutes to freeze in my Cuisinart ice cream machine.
-
Can you use Cuisinart ice cream maker twice?
I have been successful twice at making two batches in a row. But I worked quickly. I had both batches mixed and cold in the fridge. As soon as the first batch was soft serve consistency I put it in a container and into the freezer and quickly put the second batch in without cleaning the freezer bowl.
-
What is the liquid inside Cuisinart ice cream maker?
The liquid within the freezer bowl is a non-toxic saline solution.


